
What Photos to Take Before Returning a Rental Car
The exact photo checklist for rental car pickup and return: which angles to shoot, how to document existing damage, and how to make return photos hold up if a damage claim arrives later.
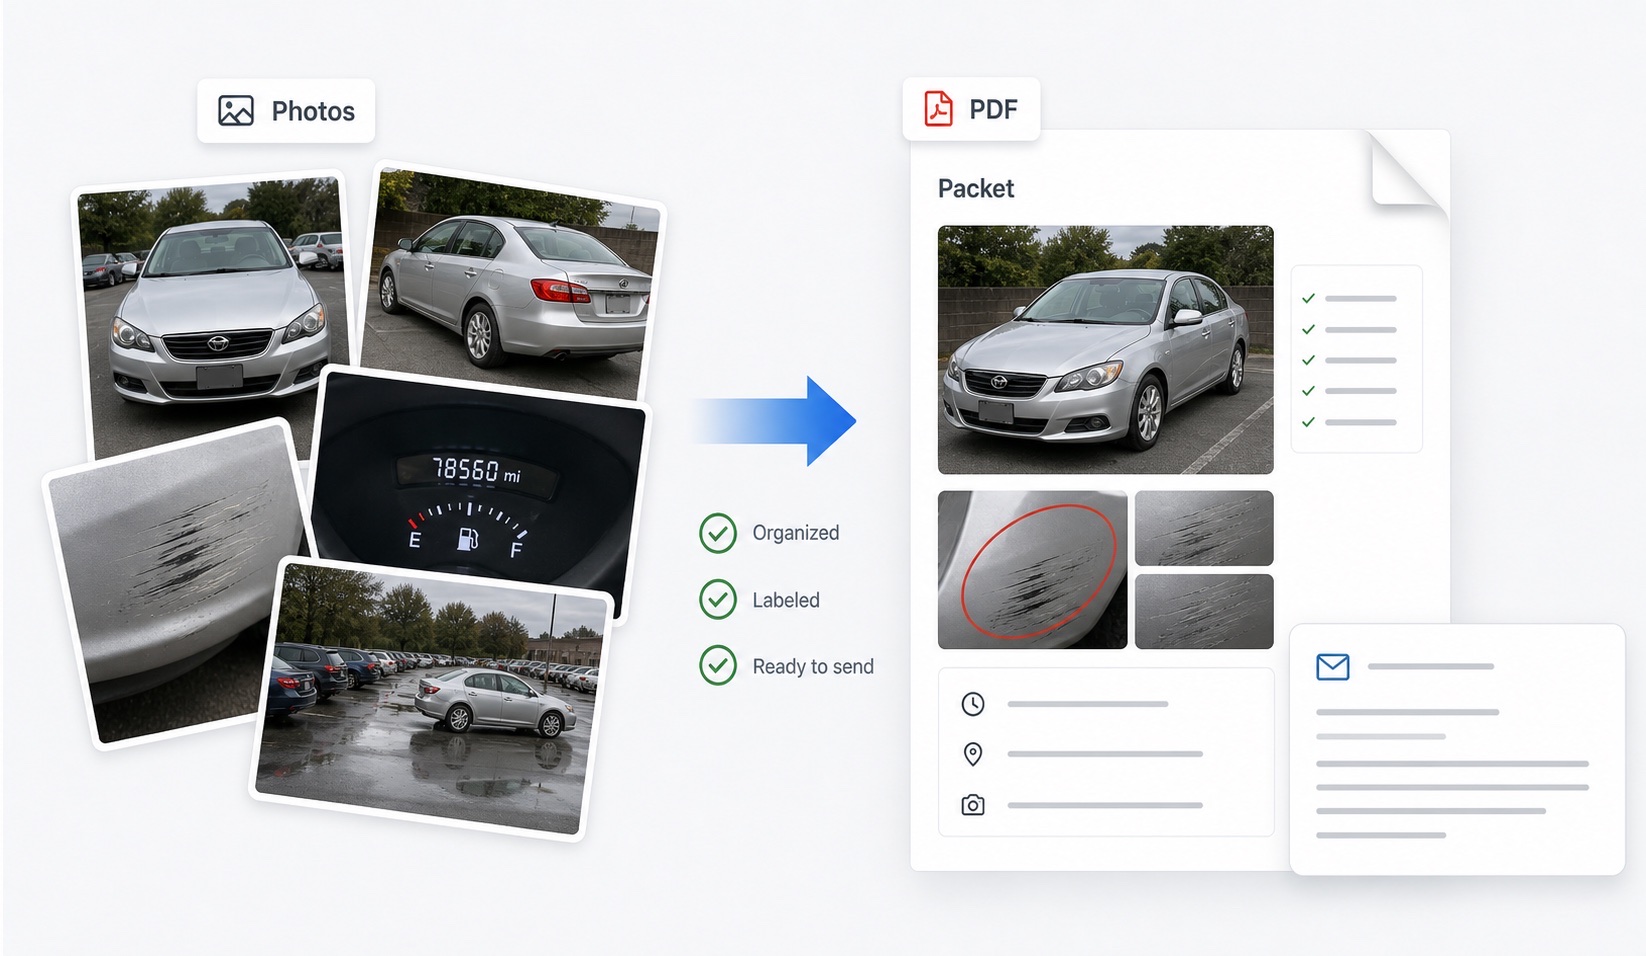
Which photos should I take before returning a rental car?
Shoot the car the way an inspector would walk around it: wide first, then close. The full return set takes about five minutes and covers every area that appears in damage claims. Work through this checklist in order so nothing gets skipped:
| Shot | What to capture |
|---|---|
| Front and rear | Full bumper, lights, grille, plate visible |
| Driver and passenger sides | Entire side including door panels and trim |
| Four corners | 45-degree angles where bumper scrapes hide |
| Wheels and tires | Each wheel face for curb rash, tread visible |
| Windshield and glass | Chips and cracks, shot at an angle to catch light |
| Roof | From a step or with arm extended; hail and rack marks |
| Interior | Seats, dash, cargo area, stains and tears |
| Odometer and fuel | Mileage and fuel level on the cluster |
The identical list applies at pickup. Matched angles are what make the record persuasive later.
How do I document existing damage at pickup?
Existing damage is your friend in a dispute — if a scratch was already there, your pickup photo is the whole argument. When you collect the car, walk the exterior before loading luggage and photograph every mark you can find: scratches, dents, scuffs, stone chips, wheel rash, cracked or pitted glass, and interior stains. For each one, take a wide shot showing where the mark sits on the car, then a close-up, ideally with a finger, coin, or key fob in frame for scale.
If the checkout form or app lets you record existing damage, mark everything, even marks smaller than the company's stated threshold, and photograph the completed form. If an agent tells you a mark is “too small to note,” photograph it anyway. Small scuffs at pickup have a way of becoming billable scratches at return.
What is the right return walkaround procedure?
The return is where most people rush and most claims are born. Before you hand over the keys or leave the lot:
- Park in the return bay and unload completely, so bags are not blocking panels.
- Repeat your full pickup photo sequence — same angles, same order.
- Photograph the odometer, fuel gauge, and the dashboard with the ignition on.
- Capture context: the return lane, stall number, signage, and the building — this ties the photos to the location.
- If an attendant inspects the car, ask for a printed or emailed receipt noting condition, and photograph it.
- Keep the final receipt or closed-contract email; the timestamp on it anchors your whole timeline.
If a claim arrives weeks later, this sequence is exactly the evidence that the after-return dispute process depends on.
Do timestamps and metadata actually matter?
Yes, and more than most renters realize. Modern phone photos carry EXIF metadata: capture date, time, device, and usually GPS coordinates. In a dispute, that metadata is what turns “a photo of a clean bumper” into “a photo of a clean bumper taken at the return lot at 9:42 a.m. on the return date.” Keep the original files. Do not screenshot your own photos, run them through editing apps, or send compressed copies if originals are requested — screenshots strip metadata and editing can raise questions.
When you assemble a dispute packet, present labeled copies for readability but state that unedited originals are available on request. DamagePacket, for example, organizes uploaded photos into a labeled report while you keep the originals untouched on your phone — that separation between the readable packet and the raw evidence is the right practice with any tool.
What if I am returning to an unattended or after-hours lot?
Unattended returns are the highest-risk handoff because nobody confirms the car's condition when you leave it, and hours may pass before an employee inspects it. Everything that happens to the car in that window — a door ding from the next stall, a cart strike, weather damage — can end up attributed to you. So the photo record has to carry the full weight.
Repeat the complete walkaround, add extra context shots of the drop-off area and key drop, and note the exact time. Use flash or a nearby light source for dark panels, and prefer a slower, steadier wide shot over blurry close-ups. If the app offers a return confirmation, screenshot it immediately. There is a dedicated checklist for this scenario in the airport and after-hours return guide.
FAQ
How many rental car photos should I take?
Plan on 15 to 25 photos per handoff: eight exterior angles (front, rear, both sides, four corners), wheels and tires, windshield and glass, roof, interior seats and dash, odometer, fuel level, plus close-ups of any existing damage. The same set at pickup and return gives you a matched before-and-after record.
Should I take photos at return too, or is pickup enough?
Take both. Pickup photos prove the condition you received; return photos prove the condition you gave back. Most surprise damage claims concern the gap after you drop the keys, which only return photos can address.
Do photo timestamps matter for rental car disputes?
Yes. Phone photos embed the date, time, and often GPS location in their metadata. Keep the original files unedited, because reviewers may ask for originals to confirm when and where the photos were taken.
Is video better than photos for a rental car walkaround?
Video is a good supplement because it proves the shots are from one continuous session, but individual photos are easier for a reviewer to compare panel by panel. A slow walkaround video plus still photos of each panel covers both needs.
What if the rental agent says photos are not necessary?
Take them anyway. Staff assurances are rarely recorded on the contract, and the person reviewing a later damage claim will only see documents and images, not remember a conversation at the counter.